🚀 Getting started
Your first import
In NoCloud Desktop, add the source to the Sink. Import monitor detects it and starts the background batch automatically; Process now is available if you want to retry a queued batch yourself. The monitor shows what has been ingested, what remains and an estimated completion time, including after restarting Desktop.
Start with one folder of photos or videos, a Google Takeout export, or a supported messaging export:
nocloud onboard /path/to/your-folder-or-export
NoCloud identifies the source before it changes anything. A media folder is copied, never moved, into your archive and every copy is journaled so it can be reversed. A Store export is routed to its matching app; if the app is not installed, NoCloud asks before installing it.
At the end you will see how many files were copied, how many were already present, and where the
new material lives. Repeating the same import is safe: unchanged source files are skipped without
being read again, and changed files are hashed and handled normally. nocloud onboard runs
nocloud build for you afterward, so your dashboard reflects this data right away.
For photos to appear in Immich, add the archive root as an External Library in Immich's Administration settings and run its scan once. NoCloud does not silently alter Immich's library configuration for you.
At any time, run nocloud journey or open Getting started in the portal. Both surfaces use
the same instance state and show one next action, rather than making you infer the order from a
list of services.
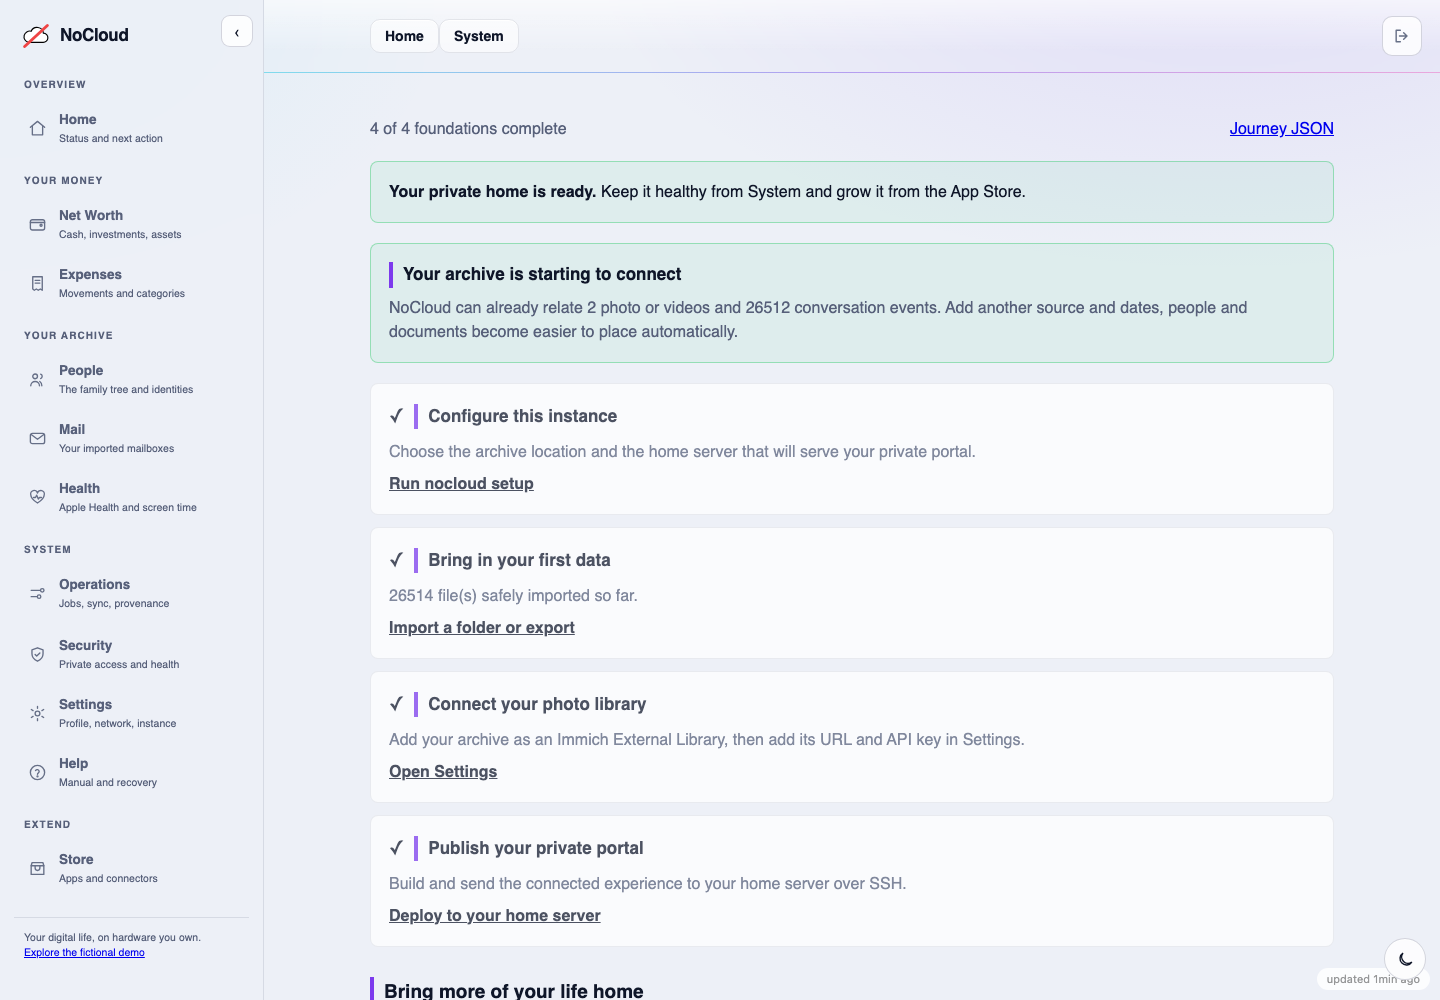
The Journey shows what is already connected, the next useful action, and the path back to the relevant part of the product. This screenshot is from the synthetic demo; it contains no personal archive data.
Follow an import from start to finish
- Open NoCloud Desktop and choose Import monitor.
- Drop a small folder of photos or videos into Sink, then choose Process now. The batch changes from Waiting in Sink to Copying and then Indexing, with copied, skipped and remaining counts.
- When it completes, open the destination shown by the batch. NoCloud has copied the files to
01_Fotos/Onboarded/<source>; the source is retained underSink/.processed/so the result is inspectable and the original is never silently moved or erased. - Let the configured photo library scan the archive. The files become visible in its import album; open any item from Files or Provenance to see its source, copy operation and destination.
The first import is intentionally a simple, reversible copy. Classification, dates and albums may be enriched afterward from metadata and local context; uncertain conclusions remain in review.
Daily use
- Log in from the LAN or over VPN and pass single sign-on (SSO). One session covers every section — only mail keeps a second login of its own.
- Explore the home screen: each tile is a section. The Photos tile shows the library's real count; the Mail tile shows your address.
- Make it yours: drag tiles to reorder them (saves automatically) and turn off the ones you don't use in Settings → Sections.
- Complete your profile in Settings → Profile: language, timezone, and validate your email with the link sent to your inbox.
- Install the app (PWA): open NoCloud on your phone and "Add to Home Screen". It still works offline with the last copy of your data.